Overview
The Windcave and Xero integration lets merchants add the Windcave Hosted Payment Page (HPP) as a payment option to Xero invoices.
Once connected your customers can pay invoices faster using the Pay Now button and the wide range of supported payment methods offered with Windcave's HPP payment solution.
This guide will walk you through the process of using the Windcave and Xero integration, if you have any questions or require further assistance with the integration please Contact Us.
Connecting to your Xero Account
Single Connection
Once ready you can follow the below process to connect your Xero and Windcave accounts:
1. Log into your Payline using your Hosted Payment Page (HPP) user.
2. Navigate to User Accounts → My User
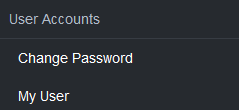
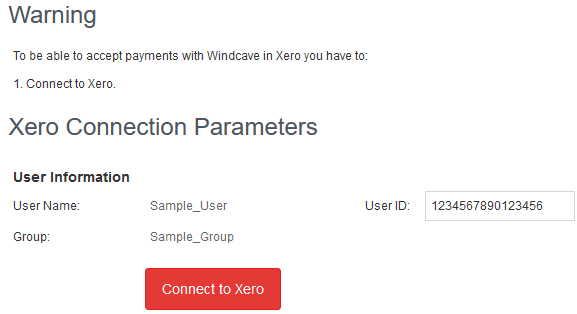
3. Scroll down and click the Connect to Xero option, you will be presented with your Xero Connection Parameters

4. Click the Connect to Xero button to start the authentication process
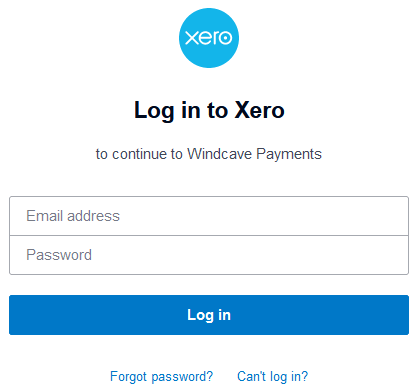
5. You will be redirected to Xero, if not already please log in to your Xero account
6. Using the drop down list select the Xero organization to add Windcave Payments to, and then click the Allow access button
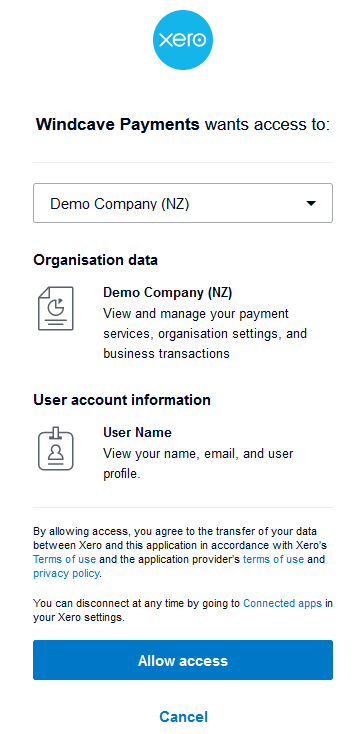
7. You will be redirected back to Payline
8. If not already added, you will be prompted to add Windcave Payments into your payment services, click Yes to proceed

9. Once confirmed you will be returned to the My User screen and a Configuration button will display under under the Xero heading

10. Click the Configuration button to set your Xero Connection Parameters
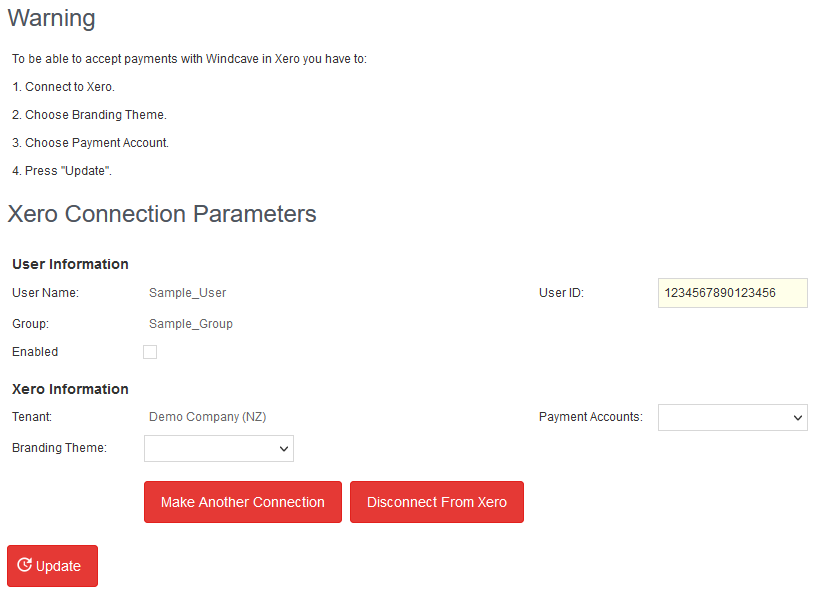
11. Select your desired Xero Payment Account and Branding Theme from the drop down lists then click the Update button to finalize your configuration
Congratulations you have now linked your Windcave and Xero accounts.
Multiple Connections
If you require multiple connections i.e., would like to connect your Windcave account to multiple Organizations in Xero, the below process can be followed to add and manage your Xero connections in Payline:
1. Log into your Payline using your Hosted Payment Page (HPP) user
2. Navigate to User Accounts → My User

3. Under the Xero heading click the Configuration button

4. Click the Make Another Connection button

5. From here you will repeat steps 5-8 of the single connection process
6. Once connected, a Xero Connections button will be visible in your My User screen of Payline

7. From here you can manage all your Xero Connections and Configurations

8. Select the newly added connection and complete the Configuration by choosing the applicable Payment Account, Branding Theme, then click Update

Disconnecting From Xero
If for any reason you would like to disconnect your Windcave and Xero accounts, the below process should be followed:
1. Log into your Payline using your Hosted Payment Page (HPP) user
2. Navigate to User Accounts → My User

3. Under the Xero heading click the Configuration button if you have a single connection, or for users with multiple connections first click Xero Connections then select the connection to be disconnected
4. Click the Disconnect From Xero Button

5. Log into your Xero account and Navigate to Business → Online payments
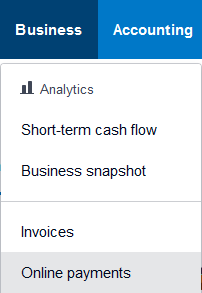
6. Select Manage connected services

7. Locate Windcave Payments and from the Edit drop down select the Remove option

You have now successfully disconnected your Windcave and Xero account link.
Making Payments
Now that you have linked your Windcave and Xero accounts you can begin accepting payments:
1. Create a New Invoice in Xero
2. Approve and Send the invoice to your customer
3. Once received your customer selects the View and pay online now button
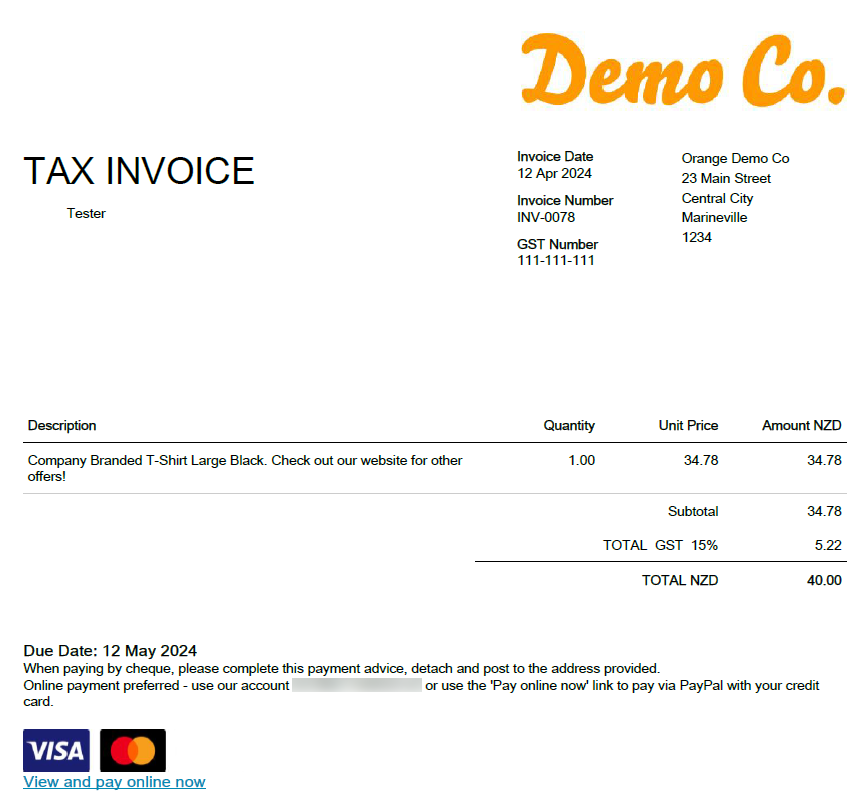
4. This redirects them to the Xero invoice summary page
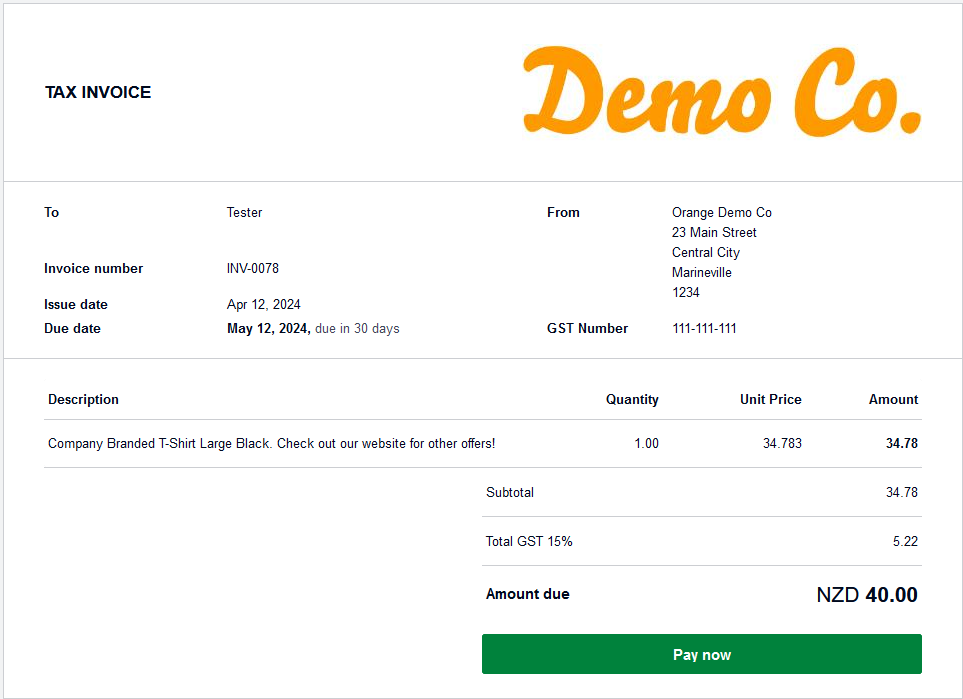
5. Next they click the Pay now button followed by the Pay via Windcave Payments option
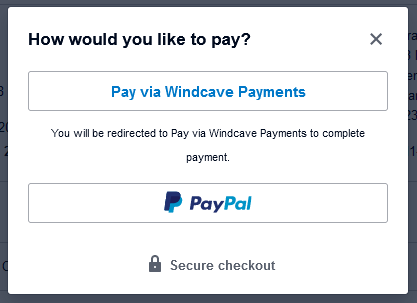
6. The customer will then be redirected to the Windcave Hosted Payment page to complete payment using their payment method of choice
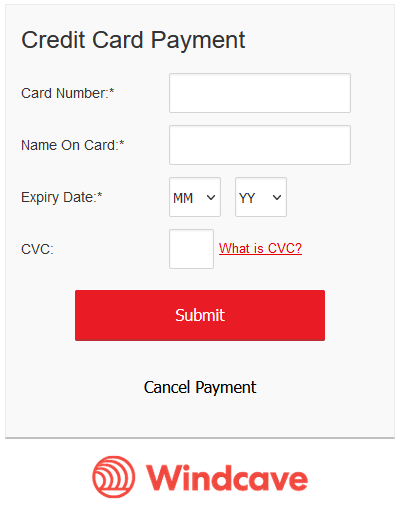
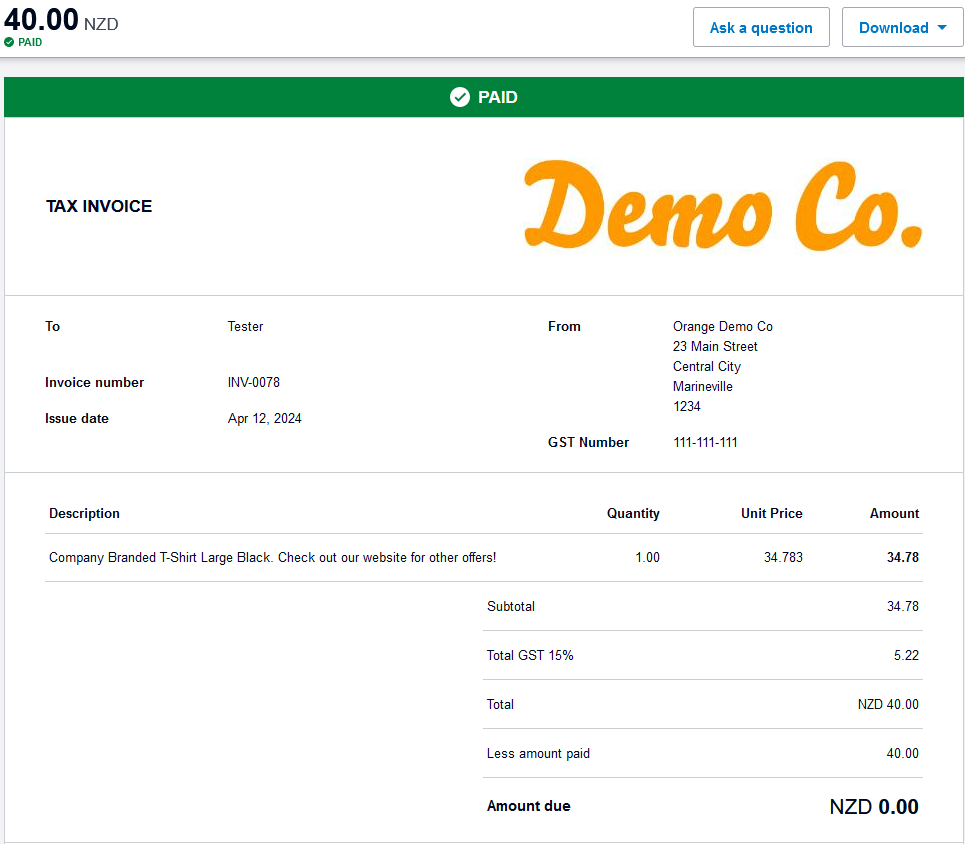
7. Once complete the user will be redirected back to Xero and the invoice will be marked as paid
